Epoxy flake floors are a very popular decorative floor finish that are ideal for anybody wanting to give dull, dirty or damaged concrete in their home or business a new lease of life.
Because of their popularity, you can find many different types that span a wide range of looks and prices, including DIY kits from Bunnings and other major hardware outlets.
But which one should you choose? What’s the difference between the flake epoxy flooring you do yourself and specialist epoxy flooring
products? Will these types of floors have the impact you’re looking for?
We answer all these questions and more in our epoxy flake flooring tips below.
Before you commit to any floor, it’s always good idea to step back and make sure it ticks all the boxes, so to speak.
Getting a new flake epoxy floor will:
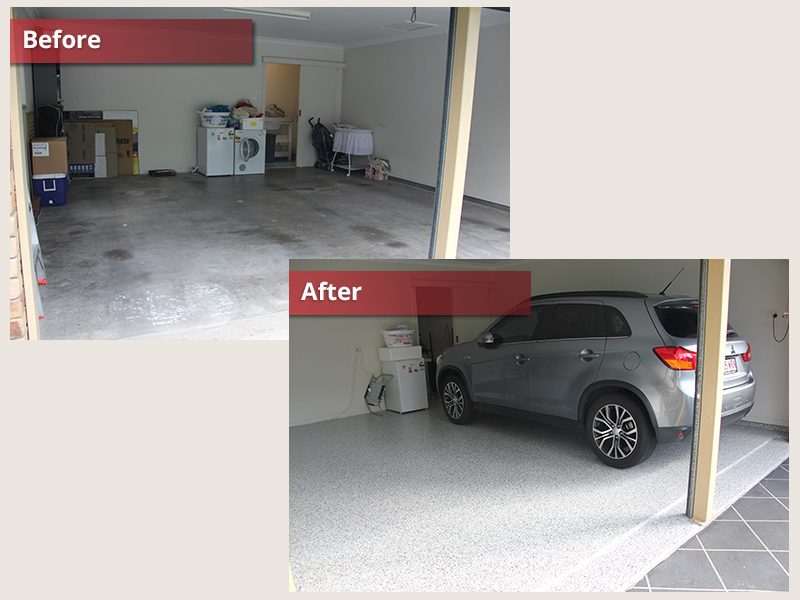
Specialist epoxy flake floors use high-quality epoxy floor coatings and urethane topcoats to encapsulate the flake and bond strongly to the concrete underneath. In contrast to generic floor paints, these harder, stronger floor coatings can withstand some nasty treatment and are often used industrial flooring projects with heavy vehicle traffic and aggressive chemical exposure.
These types of products are sourced from specialist coating manufacturers and suppliers, or through flake
epoxy flooring installers that will supply and apply. While some contain solvent, the best overall combination of safety and
performance comes from solventless technology. Being solvent-free means they can be safely used in confined spaces like a garage
without risk or disruption to nearby people.
In summary, if you’re after a long-term epoxy flake flooring that you won’t have to think about for years, high-quality, solvent-free epoxy floor coatings are the way to go.
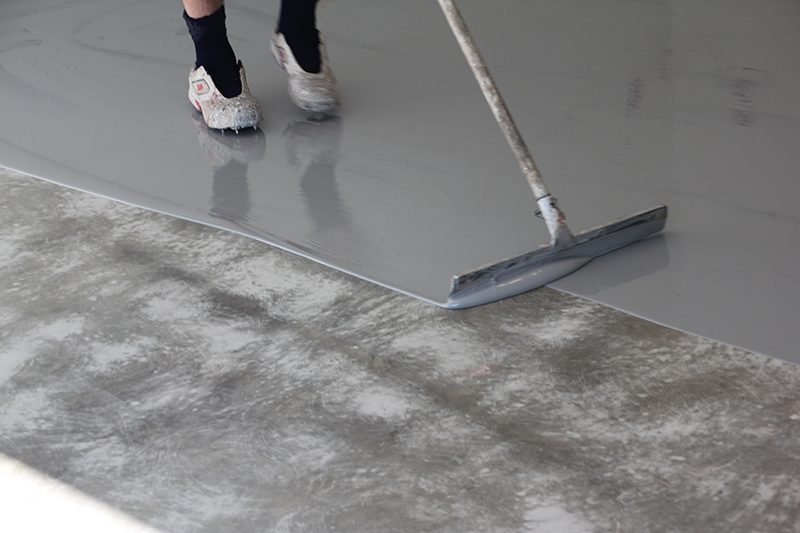
After choosing the right type of products, the second piece of the puzzle to get a quality epoxy flake floor is professional installation. As a coating manufacturer, we regularly hear from homeowners looking to fix their garage floor because they typed “how to do epoxy flake flooring” or “garage floor epoxy DIY” into YouTube and watched someone make it look oh-so-easy. Please don’t fall into the same trap!
The truth is, installing any type of floor is never that easy and those videos gloss over all the hard work that happens before you even touch a brush or roller.
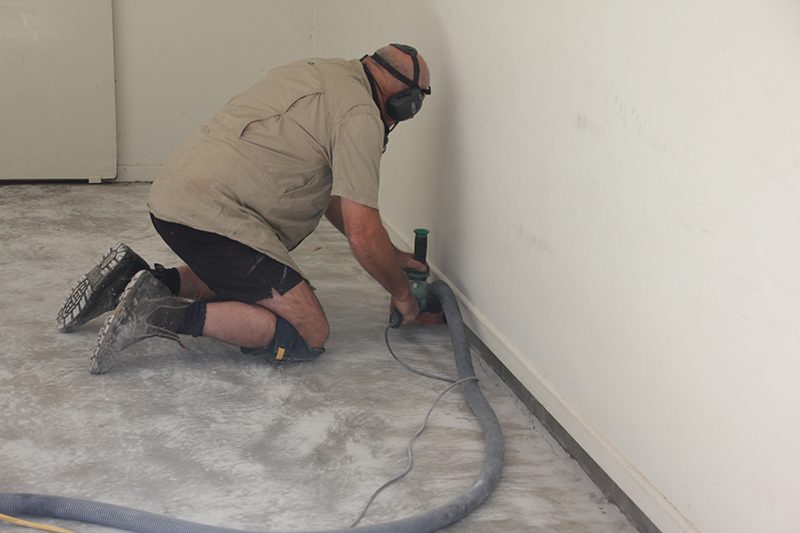
Like any type of floor covering, the surface underneath needs to be prepared properly for the result to look as good and last as long as it should. For epoxy flake floors, that means grinding the concrete with a dustless diamond grinder. While these types of machines are available for hire, getting one and figuring out how to use it is only one part of proper concrete preparation. You also must take care of other issues like concrete contamination, cracks, porosity and flatness, as well as transitions to other surfaces and fixtures.
There are not-so-obvious challenges when it comes time to apply too. Not many of those YouTube videos will ever talk about proper mixing practices, working times, pot lives, dust control, weather conditions, or even the most important thing of all: proper personal protective equipment.
Wanting to go down the DIY path to save a few bucks is understandable, but the saving only happens if you get a good result. The moment you have a problem with your DIY epoxy flake floor, you’re losing money and it could end up costing even more to fix.
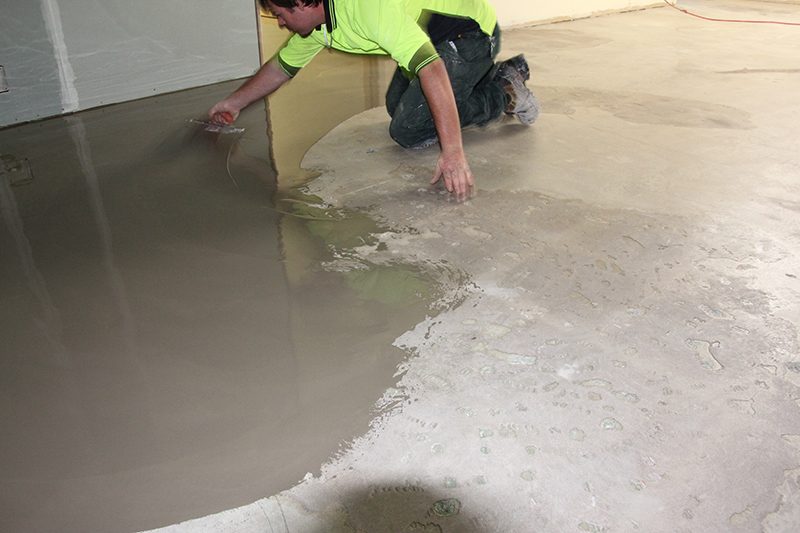
As with any type of broadcast flooring, the finished floor will tend to reflect the surface underneath. If the concrete is porous, you will get dry areas and patchiness; if you have a divot, there will be a low spot; if there are hills and valleys, the floor will look “wavy”. Getting the surface smooth, flat and sealed (if required) will give you a much better result when it comes to epoxy flake floors.
There are a few questions you need to ask to help find a good rollcoat that works for epoxy flake flooring. These include:
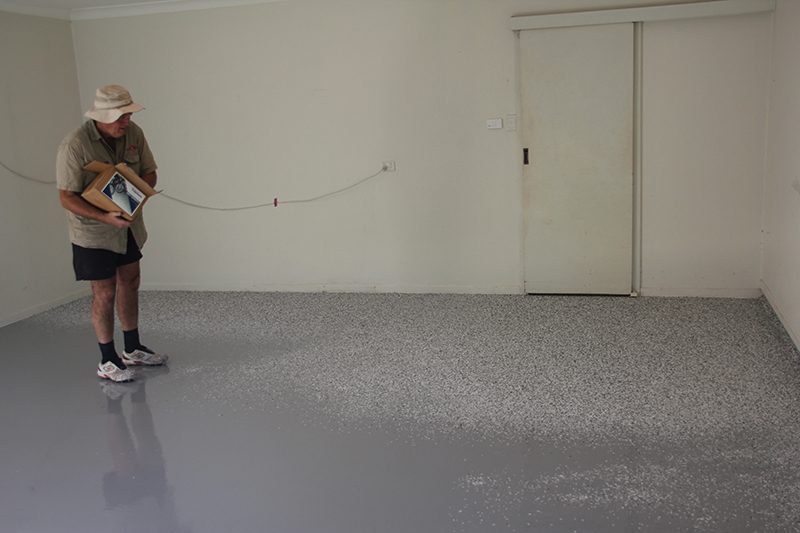
Most installers are used to broadcasting with the traditional 6mm flake flooring, but what we’re seeing with the new style of granite or stone-look epoxy flake flooring is that a different technique might be more effective.
Because these blends consist of flake from 6mm down to dust, broadcasting with a “chook feeding” motion like you do with 6mm flake can end up with the dust landing first and the larger flakes landing on top. This can create an uneven appearance that looks nothing like the stone you’re trying to replicate.
Also, the smaller dust particles tend to sink into thicker sections of the floor more readily, e.g. drips and cut-in areas. This not only highlights bumps in the floor, but also reveals more of the basecoat and makes the floor look patchy from a combination of uneven colour and gloss.
When you’re broadcasting granite or stone-look flake, drop the flake between your fingers from waist height instead and gradually build up the coverage in this manner to ensure a more consistent distribution across your epoxy flake floor.
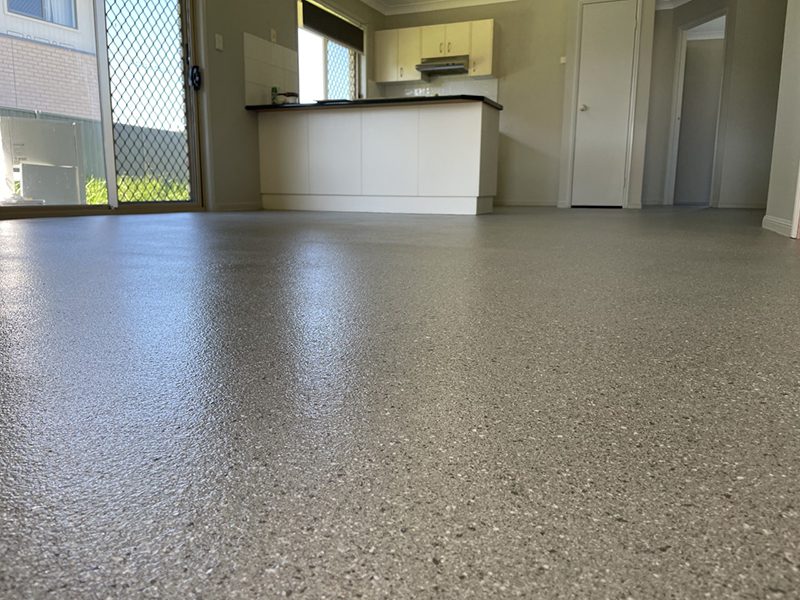
In addition to surface preparation, basecoat selection and broadcast technique, the final tip on flake epoxy flooring to pass on relates to which type of flake you use. While flake chips may all appear to be the same, there are some subtle differences that come into play that I'll quickly make mention of here.
To start with, paint flakes can be made of different material and different processes using the same material (if that makes any sense!). For instance, I know I can buy flakes made of acrylic or PVA (vinyl), and there are different manufacturers of these flakes, hence there will be a great variety in the finished product available.
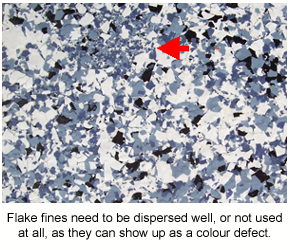
Overall, I have found acrylic flake quite brittle, which means I end up with a lot of “fines” in the bottom of each container. You have to
be careful with how you broadcast these on flake floors as they tend to show inconsistencies really easily, especially when clumped. If
you’re doing a partial flake job then I probably wouldn’t use any fines at all as they stand out even more and the client may look at it as a
defect.
My preference is for the more flexible vinyl flake. The flexibility is beneficial not only with respect to fines, but it can also have another significant benefit with epoxy flake flooring. As it lands, a rigid flake will tend to create a lot of extra space in between and under the flakes themselves. These voids draw in resins, meaning you need more to adequately seal the surface; quite often another coat will be required to produce an even finish, which means more product and more cost.
Another advantage I like with vinyl flakes is I can get them to lie flat by spraying a mist of water over the surface. There are of course tricks and tips on how to do this, but the result is flat, even, smooth flake epoxy floors that often don’t require sanding before being coated. Another cost and time saver!
To finish off, I just want to reiterate that there are obviously countless ways to do epoxy flake flooring and there are advantages and
disadvantages with each method. For indoor applications, I like a simple two-coat process: a basecoat with full broadcast of flake and a
topcoat. If you choose the right combination of flake and resin you can achieve a superb finish every time!
 |
 |
| Resin Vinyl (6mm Flake) Epoxy Flake Flooring System | Resin Granite (Stone Look) Epoxy Flake Flooring System |
.jpg)
.jpeg)
.jpeg)
.jpg)
.jpeg)
.jpg)
.jpeg)
.jpeg)
.jpg)
.jpg)
.jpg)
.jpg)
.jpg)
.jpg)
.jpg)
.jpg)
.jpg)
.jpg)
.jpg)
.jpg)
Real World Epoxies has formulated, manufactured and supplied high-quality epoxy flake flooring systems and products for more than two decades. We stand behind our products because we only use proven, high-quality materials that we know will perform as expected. You can trust our flake epoxy flooring systems for your epoxy flooring project.
Let us help you with your epoxy flake flooring needs when you fill out one of our contact forms or call us on 1300 EPOXIES (1300 376 943).
To help build a strong resin flooring industry that sits alongside timber, carpet, tiles and vinyl as a mainstream flooring option.
To eliminate preventable failures
that hurt the resin flooring industry
and prevent it from reaching its full potential.

