Home › Underwater Epoxy Surface Preparation
This is obviously a very broad question that could fill a text book when answered fully. The aim of this document is to cut through all the
confusing theory and provide a useful preparation summary, including why surface preparation is done in the first place.
The reason surface preparation exists is to help coatings stick better. It does this in three ways:
Achieving these goals in an underwater or wet environment can be a big challenge for divers. Not only is cleaning and profiling the
surface often difficult, but keeping it clean before application begins can also cause headaches.
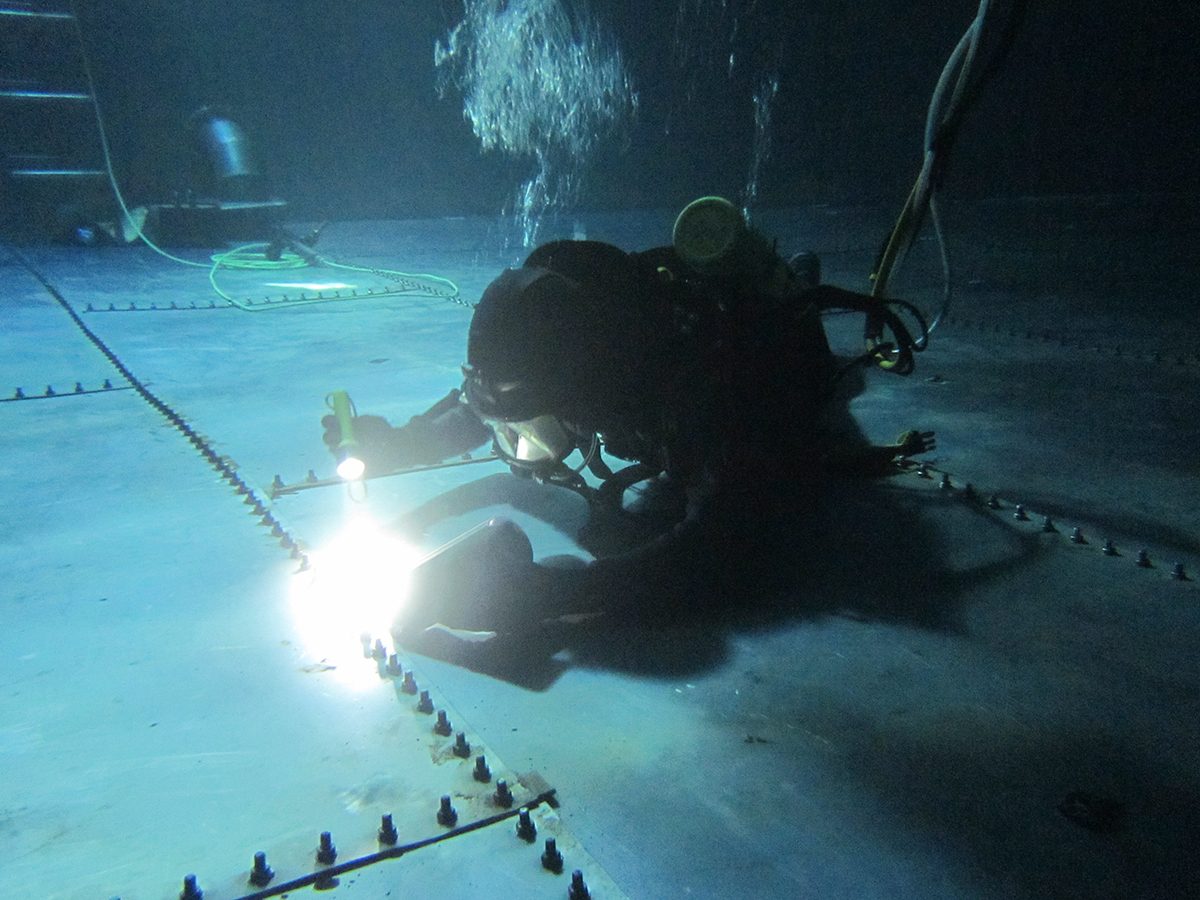
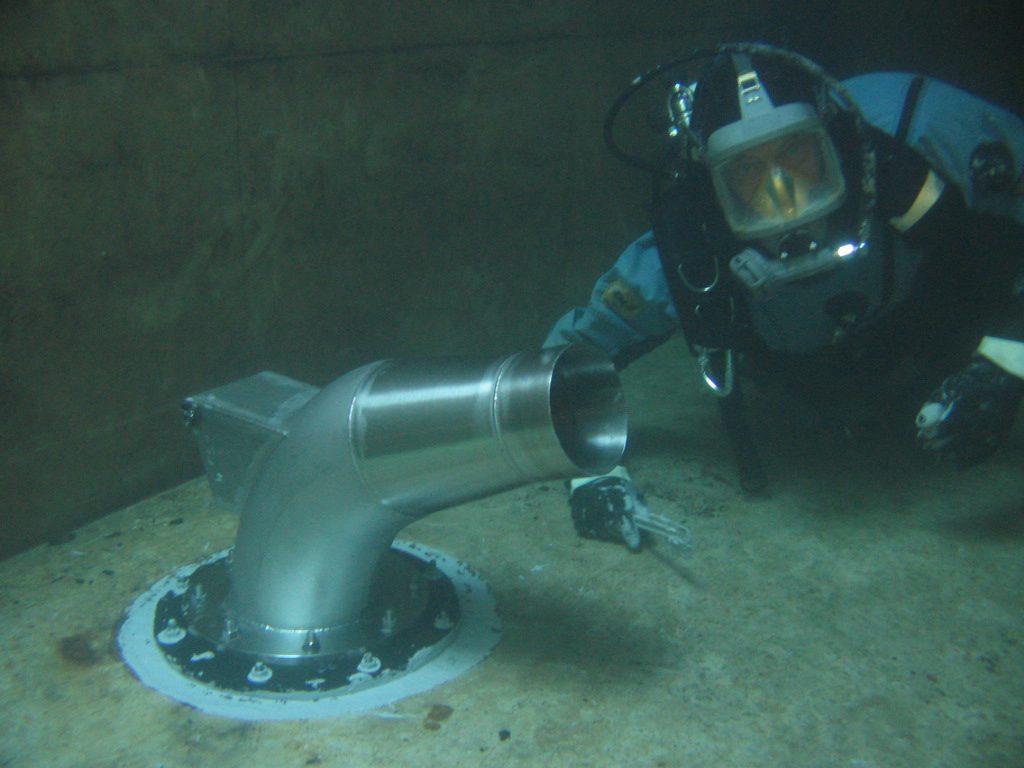
While surfaces may be underwater, the overall objective remains the same: remove barriers to adhesion (marine growth, slime, loose coatings, rust etc.) and establish a clean, sound surface with a mechanical profile. Also, the same rules apply to the condition of the surface with regards to existing coatings and damaged substrate: strongly adherent, sound coatings can be coated over, while any damaged substrate will need to be repaired with an underwater coating such as Scubapoxy 1725.
The biggest difference for preparation underwater relates to the presence of electrical currents and the window of application after preparation.
Stray electrical currents through steel pilings or hulls will prevent the epoxy from adhering and will need to be de-commissioned prior to preparation. Such currents are commonly caused by active galvanic protection systems, nearby anodes, shipboard arc-welding operations etc., and can usually be isolated.
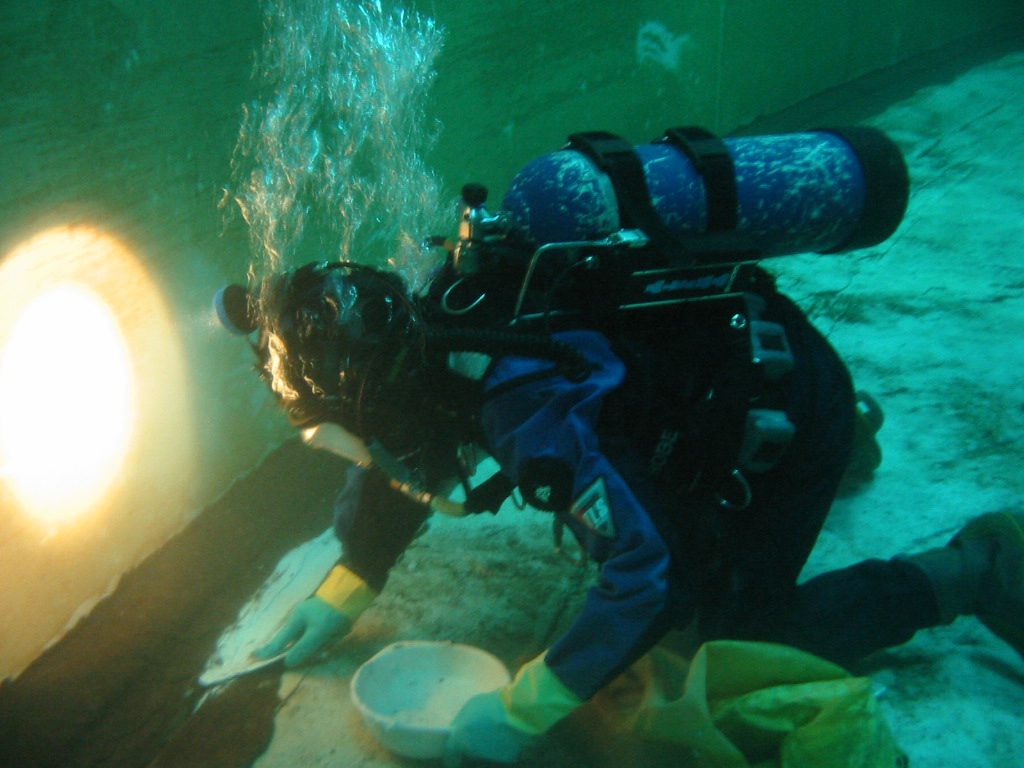
The window of application is significantly reduced when working underwater and it’s important to apply within 40 minutes of blasting, otherwise the cleaned surface will become re-contaminated with marine settlement. After preparation the surface should feel gritty and granular, while a slimy feel to the fingertip is not acceptable.
Below is a list of the underwater surface preparation methods with comments on their effectiveness:
This not recommended except in the smallest areas where vigorous brushing is the only way to achieve some form of contamination removal.
This can work well in small areas provided sufficient attention can be afforded to all areas receiving the coating. Grinding is useful in localised repairs above or below water.
This has been used successfully above and below water provided the area is small enough to receive complete attention.
This method is effective provided the water pressure is high enough to remove all contamination. Pressures of 34MPa/5,000psi will be
required to remove tight contamination such as marine growth on steel and concrete. The nozzle must be held close in to ensure
effectiveness since its efficiency falls off rapidly as it leaves the surface.
Abrasive blasting is the preferred method of preparation. Abrasive blasting with high-pressure water is particularly effective underwater and may be accomplished with most commercial equipment down to 24MPa/3,500psi units with venturi sand injection. Conventional air/abrasive blasting works well for small areas, however tends to produce uneven results – where the jet of air and abrasive strikes the surface there will be a “white-metal” blast, however the cleaning only 2-3mm/0.1” away may be poor. Water-jetting tends to deliver a much broader and more uniform effect.
As a rule of thumb, on open flat surfaces, allow for a surface preparation rate of 18m2/192ft2 per hour per nozzle for pressure cleaning. It’s recommended to work in “boxes” – marked out sections to be cleaned and applied at a time – and progressively work through these.
For more information on underwater epoxies, including how to apply, see our underwater epoxies page here.

Real World Epoxies has formulated, manufactured and supplied high-quality underwater epoxy coatings, sealants and adhesives for more than two decades. We stand behind our products because we only use proven, high-quality materials that we know will perform as expected. You can trust our underwater epoxies for your underwater application.
Let us help you with your underwater epoxy coating needs when you fill out one of our contact forms or call us on 1300 EPOXIES (1300 376 943).
To help build a strong resin flooring industry that sits alongside timber, carpet, tiles and vinyl as a mainstream flooring option.
To eliminate preventable failures
that hurt the resin flooring industry
and prevent it from reaching its full potential.


Get our 20-page resin flooring guide for specifiers and floor owners here
_800x271a.png)