Home › Solutions › Residential › Resin Vinyl › Resin Vinyl and Resin Granite™ Installation Guide
The following guide includes hints, tips and instructions for installing the two epoxy flake flooring systems
manufactured by Real World Epoxies - Resin Vinyl and Resin
Granite™

To determine if the concrete is contaminated with oil or grease, drip a small amount of water onto the surface. If the water beads, the concrete should be before any other surface preparation is performed.
Previous paints or sealers should be removed with a diamond grinder prior to application.
Inspect surface for signs of dampness or efflorescence. If there are no visible signs, test with a moisture meter. If the moisture content exceeds 5.5% or there’s a relative humidity of 70% or greater, apply a moisture barrier.
Ensure all loose material is removed from the surface and damaged areas are repaired prior to application.
For best results, the substrate should not deviate more than the following distances under a straight edge tool:
If required, the substrate should be levelled first with a suitable levelling compound.
Fill static cracks, divots and gauges with a suitable patching compound, e.g. Ezypoxy Clear with Ezypatch filler. Dynamic cracks should be filled first before cutting out to form a control joint. The joint should be sealed with a suitable flexible joint sealant after application of the flooring system.
Allow concrete to harden for 28 days before conducting surface preparation as per the instructions below.
Diamond grind to obtain a clean, granular/rough feel with a CSP 2-3 profile. Use a Schmidt hammer to test hardness of concrete so that the right disc segments can be chosen (e.g. hard or soft bond).
Properly prepared surfaces should be structurally sound and free of contamination, laitance and any loose material. Ensure prepared surface is clean, dry and dust-free again if there’s a delay between preparation and application.
If the concrete is found to be particularly weak, powdery or porous during substrate preparation, apply a suitable primer/sealer, e.g.
Ezypoxy Clear, to prevent the first coat from soaking in too much.
Read these instructions in full before getting started.
Get all tools and the mix area ready before mixing. The mix area shouldn’t be too far away, cordoned off if possible and with product laid out neatly (in a cool place, away from direct sunlight). Make sure it’s big enough to allow plenty of room to move and work cleanly.
Use drop sheets to protect all surfaces from splashes/spills/drips, and have plenty of lint-free cotton rags and solvent for clean-up. It should also contain a separate clean area and a waste bin for discarded items.
Each kit of Ezypoxy Rollcoat will cover approximately 48m2 @ 250 microns (4m2/L). Coverage for primed surfaces can be extended to 60m2 (200 microns or 5m2/L).
Plan progress across the area. Consider how to finish kits, using joints as boundaries and keeping edges fresh so the next kit can be seamlessly worked in. Large joints should never be covered because cracks can appear. Apply up to the edge and let it run into the joint instead of trying to fill or cover completely. Flexible sealants can be used if desired after application is complete.
Mark out sections of the floor with masking tape as a guide to help you use the correct amount and achieve correct film thicknesses. Use
this time to mask up any surfaces you wish to protect from accidental contact with the resin, e.g. skirting boards, drains, transition
strips etc.
WARNING: Part B is a Class 8 Corrosive. For full safety instructions, consult SDS. Wear protective clothing, goggles and gloves to prevent skin and eye contact. Clean up can be made using methylated spirits or acetone.
Pre-mix pigment pot into Part A first with a drill using a Jiffy mix blade. Pour Part B into Part A and mix for 2 minutes or until a consistent colour is obtained, scraping sides to ensure all product is taken in.
For grey colours - Baltic, Platinum, Ash, Gunmetal - use Light Grey Pigment Pots.
For tan colours - Pebble Beach, Tuscany, Chestnut - use Merino Pigment Pots.
For Ironbark, use Black Pigment Pots.
Mixing notes:
Start in the far corner, progressing across the room and back towards the point of exit.
When pouring, start approximately 50cm from a wall and work towards the exit point pouring in an “S” shaped pattern.
Leave enough to cut in around tight areas with a brush. Try not to cut in too far, just enough to protect the vertical surfaces.
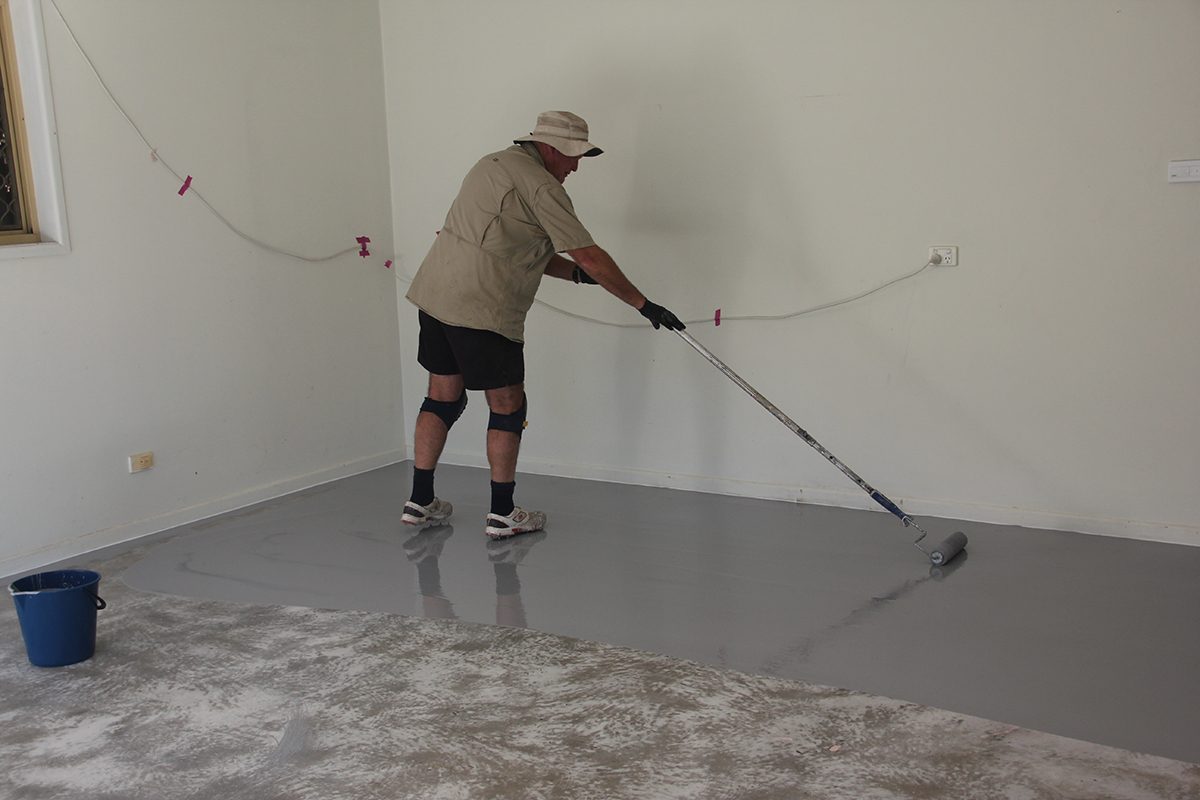
Perform a rough spread using the squeegee, allow product to level for 2-3 minutes, then backroll smooth using 12mm roller covers. When backrolling, aim for long, even, overlapping strokes to get the product feeling and sounding the same. The film will often make a soft tearing sound when rolled evenly. For best results, roll the film perpendicular to the first direction to finish.
It’s a good idea to de-lint all rollers first by wrapping the roller in masking tape and removing. Repeat this process, fluffing the roller in between until there are no fibres visible on the back of the tape.
To work a fresh batch into the seam of another, pour the material approximately 15cm from the edge and overlap with the roller by about 30cm. Try to minimise the number of seams and keep them as fresh as possible. If left for too long, pigments can settle and lead to a visible colour difference.
Each kit must be applied within the pot life times listed in the Cure Schedule table to ensure best results.
Table - Ezypoxy Rollcoat Cure Schedule
|
Temperature |
Pot Life |
Re-coat |
Light Traffic |
|
15oC |
40 min. |
36-48 hours |
48 hours after final coat |
|
25oC |
20 min. |
18-24 hours |
24 hours after final coat |
|
35oC |
10 min. |
9-12 hours |
24 hours after final coat |
Application tips:
| Part A | Part B |
| 880g/660mL | 350g/340mL |

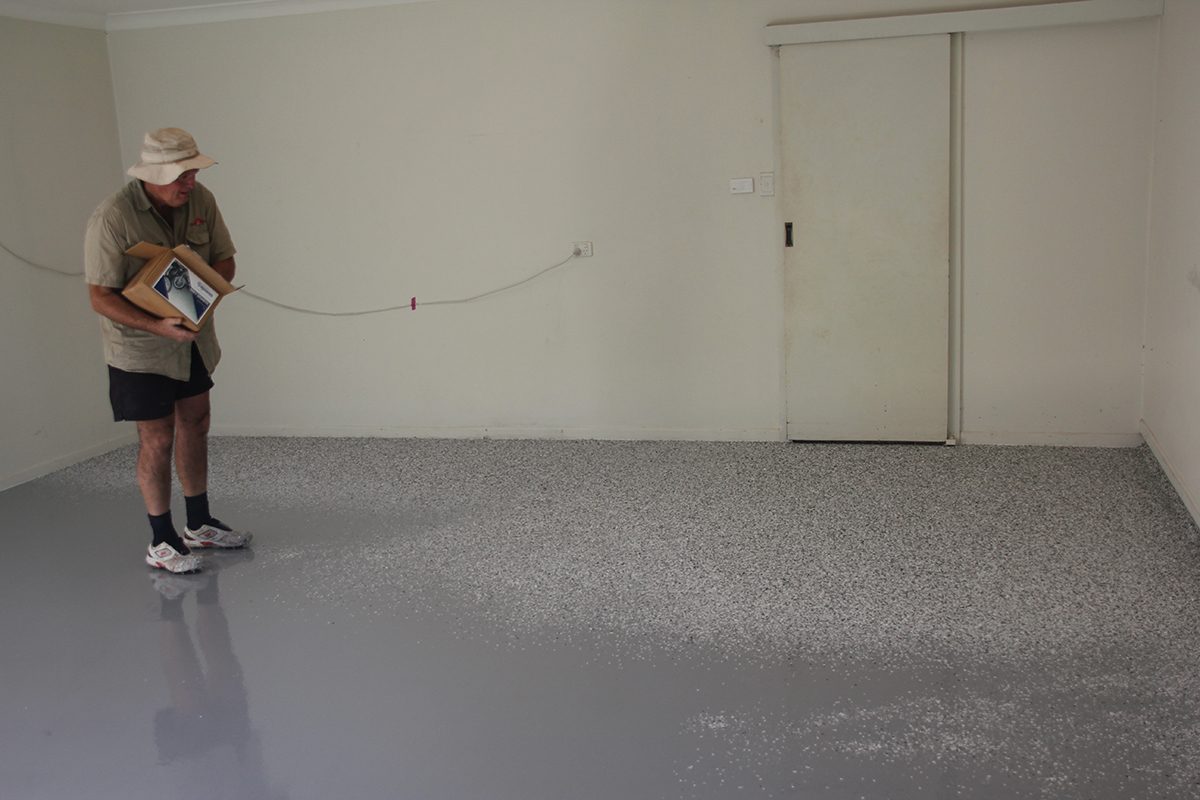
Broadcast Resin Vinyl Flake or Resin Granite Flake immediately after basecoat application. Wear spiked shoes to walk around on the freshly laid epoxy without leaving prints.
Can be applied by hand or pneumatic hopper-blower gun.
Full saturation of the basecoat typically requires 2m2/kg.
For more information on how to broadcast the two different types of flake, read our epoxy flake flooring tips.
Once the first coat is hard enough, carefully walk back on the floor to collect excess flake and smooth surface via scraping and/or sanding.
Use a vacuum or dust mop
afterwards to pick up all the loose bits and dust.
For the Resin Vinyl system, each drum covers approximately 40m2 @ 200 microns (8m2/L).
For the Resin Granite™ system, each drum covers approximately 25m2 @ 200 microns (8m2/L).
Plan application as per first coat.
WARNING: For full safety instructions, consult SDS. Wear respirator, goggles and gloves to minimise exposure. Clean up can be made using acetone or MEK.
Mix well before use using a clean, dry mixing blade at low speed. If using a pigment pot or matte additive, add the entire contents of the pack and mix at low-medium speed for 60 seconds.
This product is sensitive to moisture. Keep containers closed as much as possible during application. Once an additive is introduced, the material must be used within the specified working time.
Follow same instructions as first coat with regards to starting point, cutting in and working with seams.
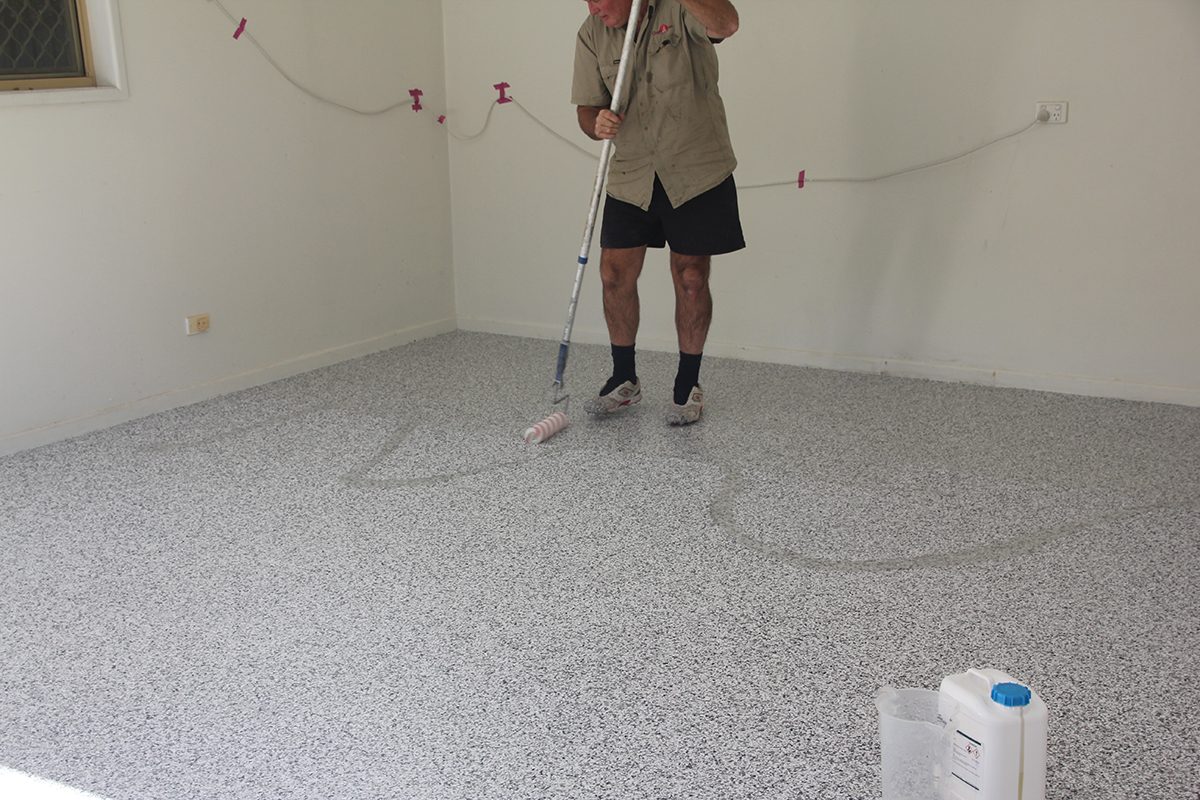
Pour mixed product into a roller tray and apply using a lint-free high-density roller with 6mm nap. Larger nap rollers may cause bubbles in the film.
If using a squeegee, pull the material to a very thin film and backroll. Avoid pooling as it can cause bubbling or foaming.
Due to the long open time of Ezypoly, rolled films can be rolled again in a perpendicular direction to achieve an even finish.
Each drum must be applied within the pot life times listed in the Cure Schedule table to ensure best results.
Table - Ezypoxy Rollcoat Cure Schedule
|
Temperature |
Pot Life |
Re-coat |
Light Traffic |
|
22oC |
45 min. |
12 hours |
24 hours after final coat |
Application tips:
Once completed, the floor will be ready for light traffic in 24 hours and reach full hardness over 7 days.
Keep containers closed when not in use. Store below 40°C. Do not store in direct sunlight. Shelf life is at least 12 months in original,
unopened container. Seek advice from your local council regarding accepted disposal methods.
CAUTION: KEEP OUT OF REACH OF CHILDREN. IF ON SKIN: Remove immediately all contaminated clothing. Rinse skin with water. IF IN EYES:
Rinse cautiously with water for several minutes. Immediately call a POISON CENTRE (Australia - 13 11 26) or doctor/physician. If skin
irritation occurs: Get medical advice/attention.
Our technical advice, whether verbal or in writing, is given in good faith but without warranty. This also applies where proprietary rights of third parties are involved. It does not release the user from the obligation to test the products supplied for their suitability in the intended processes and uses.